
Introduction
Once a file or image (usually a copy of a device) is gathered, it will need to be mounted to be examined. Arsenal Image Mounter (AIM) mounts a file or image to look like a real disk.
AIM opens up disk-level capabilities by using a SCSI adapter. This allows a user to view BitLocker, Volume Shadow Copies, and launch virtual machines.
There are free and paid versions of AIM. I will go over the free version in this post.
Free Mode Walkthrough
I will go over the basics of AIM. For a complete guide, go to AIM Walkthrough.
- Go to AIM Downloads Page to download AIM.
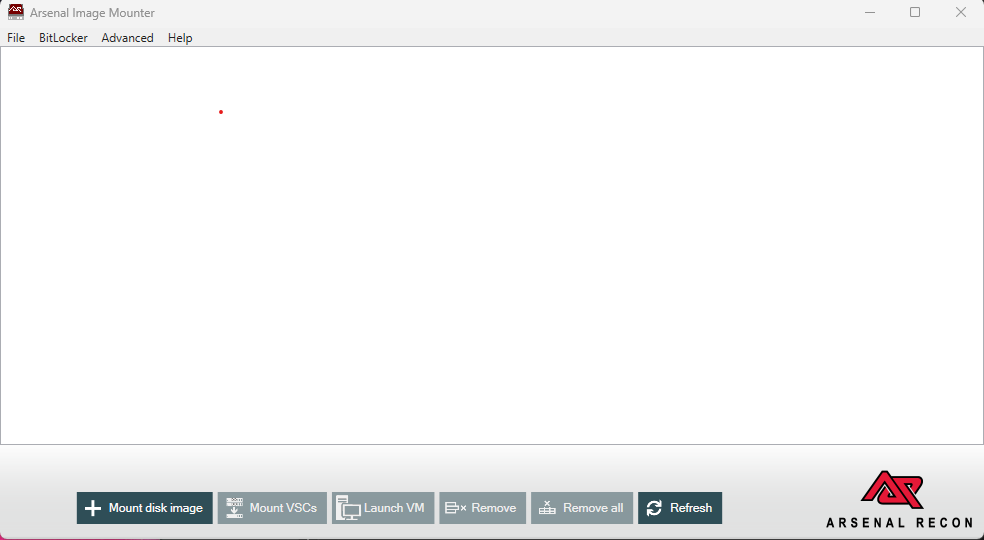
- In the above image, click “Mount disk image” or click “File” then “Mount disk image file”.
- Find the image you want to mount and click OK.
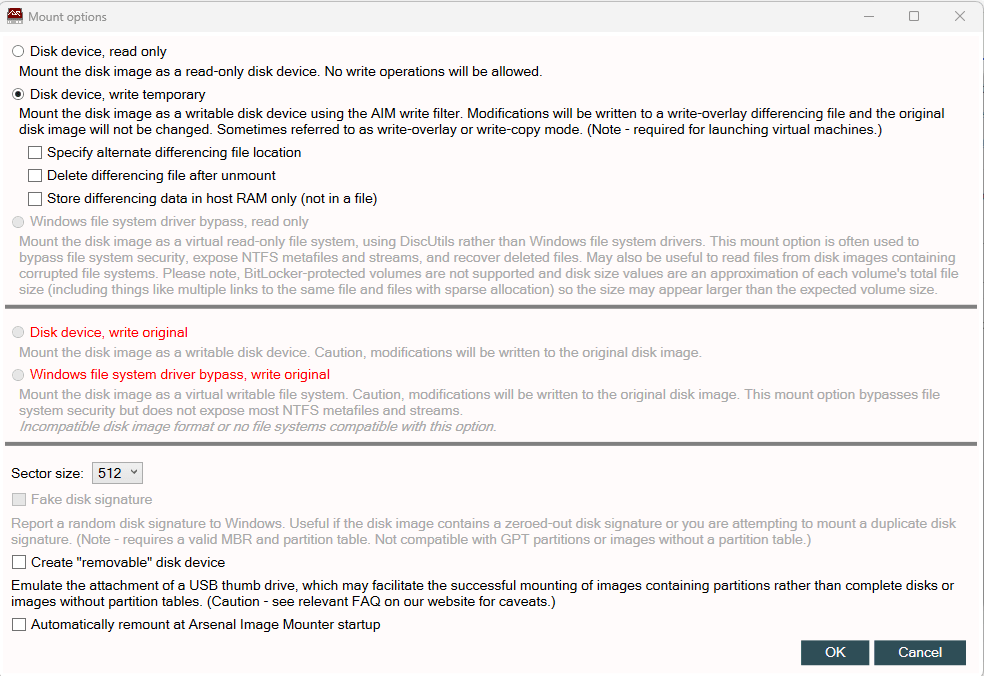
- There are two options for how to read and write available.
- Read only only allows to read the contents
- Write-temporary will not affect the contents of the image. It provides read-write access for the examiner and the write changes are sent to a differencing file that can be deleted later without affecting the image.
- After selecting the read-write mode, the image will be mounted at a drive that can be viewed (such as E:).
- The contents of the drive are able to be viewed.
- Once done, click “Remove” on the AIM main page to remove the image from being mounted.

Leave a comment